earn with ayesharafeek
Step by Step Process to Start a Baking Small Business
Start a baking business with our step-by-step guidance
Ayesharafeek
11/13/20253 min read
Bismillah,
Assalamu Alaikkum,
Introduction:
Starting a small baking business from home is one of the most comforting journeys. It smells like warm cookies, fresh bread, vanilla essence, and happiness. If you’re someone who feels peaceful while baking cakes, decorating cupcakes, whipping frosting, or trying new recipes at midnight, then this might be your calling. Baking is not just a skill. It is a way of expressing love and creativity through food.
I, Ayesharafeek, believe that a business that comes from the heart always finds the right customers. And a baking business is exactly that. You can start small, from your kitchen, with simple tools, and grow step-by-step. So let’s talk about how you can do this in a clear, simple, and worldwide-friendly way
Understand What Baking Business Really Means:
A baking business is not only about making delicious food, but also about delivering quality, consistency, and warm customer experience. People don’t just buy a cake. They buy celebration, joy, memory, surprise, love, and comfort. So you must care about every detail.
Step 1: Decide What You Want to Sell:
Do not try to sell everything at first. Start with a small, manageable menu. Some ideas:
Cupcakes in 4–6 flavors
Custom birthday cakes
Tea-time cakes (banana bread, chocolate loaf, pound cake)
Cookies, brownies, or bars
Cake jars or dessert cups
Choose items that:
You are confident in making
You enjoy baking
You can consistently repeat with the same taste and quality
This is your initial identity.
Step 2: Learn and Practice Your Recipes Well:
Before you sell, practice your recipes until they are perfect. Baking is a science. One small change can alter the result. So try multiple batches, adjust ingredients, check texture, taste, moisture, sweetness, and shelf life.
Tip: Keep a baking diary where you note measurements, oven settings, and results. This helps you maintain consistency.
Step 3: Get the Basic Tools (No Need for Expensive Items):
You don’t need a professional kitchen to start. Use what you have and slowly add tools.
Basic tools that help:
Hand mixer or stand mixer
Measuring cups and weighing scale
Good quality cake tins
Oven with temperature control
Piping nozzles and bags
Cooling rack
Airtight storage containers
Start small. Upgrade slowly after earning.
Step 4: Calculate Cost and Pricing
Your pricing should include:
Ingredient cost
Electricity/gas cost
Your time and effort
Packaging cost
Your profit margin
Do not underprice yourself to please people. Your work, ingredient quality, and time matter.
Example:
If your total cost to make 6 cupcakes is ₹120
Price should be ₹200–₹260, depending on your area and style.
You are a baker, not a charity provider. Charge with confidence.
Step 5: Choose Your Brand Style:
Branding is how people remember you. Keep it clean and simple.
Decide:
Business name (easy to pronounce + unique)
Logo (can be made free on Canva)
Color theme (soft bakery colors like pastel pink, beige, cream, light brown work beautifully)
Packaging style (boxes, cupcake holders, thank you notes)
Even a small handwritten note saying “Made with love” builds connection.
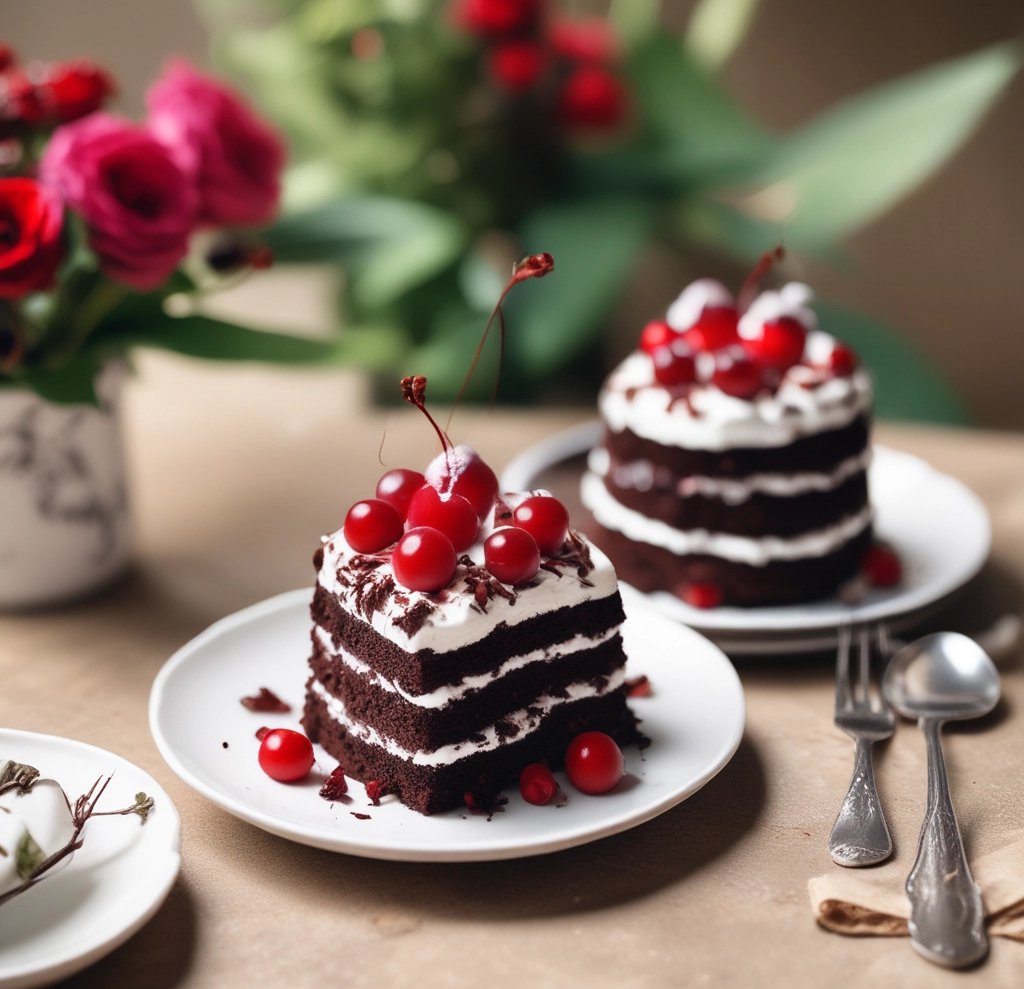
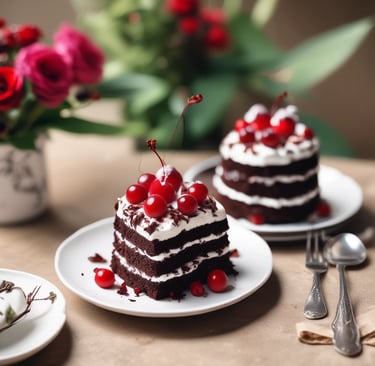
Step 6: Take Beautiful Food Photos:
In baking, people eat with their eyes first.
Tips:
Use natural sunlight near a window
Use simple neutral backgrounds
Add props like linen cloth, dried flowers, simple plates
Show close-up texture shots
Keep editing natural
Good photos will attract customers faster than words.
Step 7: Create Your Online Space:
You can start on:
Instagram
Facebook Page
WhatsApp Business
Pinterest
Local food groups/community pages
Post consistently:
Behind-the-scenes baking clips
Cake decorating videos
Customer feedback screenshots
Step-by-step frosting videos
Reels of mixing, pouring, piping, slicing
People love process videos.
Step 8: Offer Tasting / Sample Boxes:
Before your official launch, offer small tasting boxes to neighbors, friends, colleagues, local shop owners, or classmates.
This helps:
Test your flavors and get feedback
Spread word of mouth
Gain first customers naturally
This is how your customer base begins to grow.
Step 9: Maintain Cleanliness and Hygiene:
This is very important.
Keep:
Hair tied and covered
Gloves and an apron
Clean working station
Proper cooling and packaging
Food safety is trust. Trust builds reputation.
Step 10: Customer Handling and Delivery:
Be kind in your messages. Always clarify:
Flavor choice
Cake design (ask for inspiration photos)
Delivery time
Storage instructions
If delivering:
Use insulated delivery bags
Choose a reliable local delivery service or partner with a driver
Happy customers become repeat customers.
Growing Slowly and Steadily:
Businesses are built slowly. Do not stress about fast results. Each order teaches something. Every cake baked improves your skill. Enjoy the journey. Do not compare yourself to others online. Your journey is unique.
Final Words by Ayesharafeek:
If baking makes your heart light, your kitchen smell sweet, and your soul feel peaceful, then this business is your gift. You don’t need to be a perfect baker to begin. You just need a loving intention, consistency, and belief. Start small. Learn every day. And keep creating with love.
Your baking business could be the reason someone smiles today.
In sha allah, Allah showers more barakah in your business.